ESSENTIAL GEAR
iOS Acrylic Wall Hook - Pack of 5
iOS Acrylic Wall Hook - Pack of 5
Couldn't load pickup availability
Low stock: 10 left
- Free Shipping on All Prepaid Orders above ₹500
- Secure Payments
- 7-Day Easy Returns
Acrylic iOS-Inspired Premium Wall Mount
Bring the digital icons to your real-world walls.
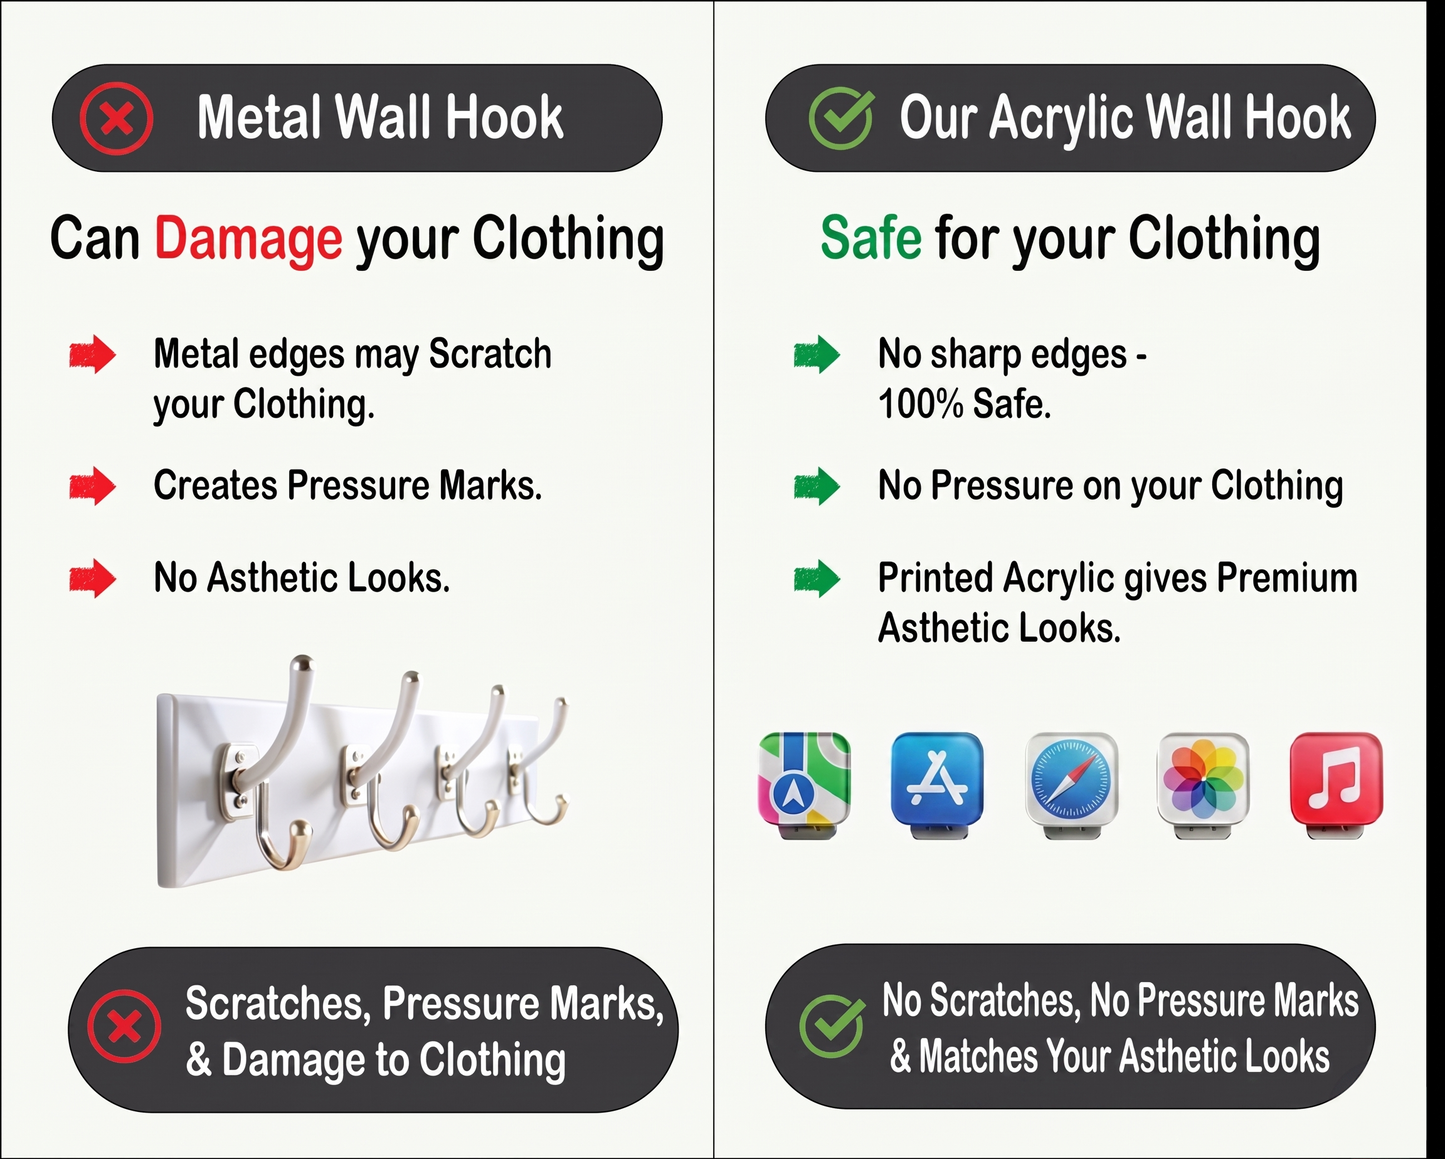
Inspired by the clean, instantly recognizable geometry of modern smartphone user interfaces, this iOS Icon-Inspired Wall Hook brings premium tech aesthetics into your physical space. Crafted from high-grade, precision-cut printed acrylic, it replicates the high-gloss, glass-like depth of a digital screen right on your wall. Featuring the iconic "squircle" border radius, it’s the ultimate fusion of modern UI design and heavy-duty utility.
KEY FEATURES
High-Gloss Printed Acrylic: Crafted from premium acrylic with a vibrant, reverse-printed design that gives the icon incredible depth, a glass-like finish, and a scratch-resistant surface.
The "Squircle" Aesthetic: Modeled precisely after the continuous-curve geometry used in premium smartphone app icons for a perfectly balanced, ultra-modern look.
Seamless Floating Mount: Features our signature hidden mounting mechanism for a clean, floating appearance on your wall with no ugly screws showing on the front.
As Seen on YouTube: Designed, prototyped, and completely home-built from scratch in our workshop on the Essential Gear channel.
WHERE TO USE STICKY MOUNT
Ideal Surfaces for Sticky Mounts
- Glass & Mirrors: Perfect for bathroom mirrors, windows, or glass partitions.
- Ceramic & Porcelain Tiles: Great for kitchens and bathrooms (just ensure the surface is wiped dry and free of oil/soap scum before applying).
- Polished Wood & Veneer: Works exceptionally well on smooth wooden surfaces like office desks, doors, and laminates.
- Metal Surfaces: Perfect for stainless steel refrigerators, aluminum panels, or steel filing cabinets.
- Smooth Plastics & Acrylics: Ideal for mounting onto plastic boards, monitor bezels, or other synthetic panels.
💡 Tips for a Strong, Safe Bond
- Clean the Surface: Always clean the area with rubbing alcohol first to remove any dust or grease. Avoid using household cleaners, as they can leave a slippery residue.
- Press firmly: Hold the hook against the surface with firm pressure for about 30 seconds to activate the adhesive.
- Wait 24 Hours: Let the adhesive cure for a full day before hanging any weight on it.
⚠️ Surfaces to Strictly Avoid
- Painted Drywall / Plaster Walls (Adhesive will tear the paint right off upon removal).
- Wallpaper (The sticky pad will permanently bond to the paper and rip it).
- Rough, Textured, or Curved Surfaces (The tape won't get 100% contact, causing it to fall).
Max Weight Capacity - 0.5 Kg
WHERE TO USE SCREW MOUNT
🔩 Ideal Surfaces for Screw & Wall Anchors
- Concrete & Brick Walls: This is where anchors shine. Once you drill a hole with a masonry bit, the plastic sleeve expands against the solid concrete or brick, making it incredibly sturdy for holding weight.
- Painted Drywall & Gypsum Boards: Standard nails can pull out of drywall easily under weight. An anchor expands behind or inside the drywall sheet, distributing the weight so the hook won't rip out of the wall.
- Cinder Blocks & Hollow Concrete: Perfect for hollow walls. Specialized toggle or expansion anchors will grip the hollow backside of the block securely.
- Tiled Walls (with the right drill bit): Unlike hammer nails which shatter tiles, you can use an anchor system here. You just need to use a diamond or carbide-tipped glass/tile drill bit to cleanly drill through the tile first, insert the anchor, and then drive the screw.
💡 Tips for a Professional Anchor Installation
- Match the Drill Bit Size: The drill bit must be the exact same diameter as the plastic wall anchor. If the hole is too big, the anchor will spin freely and fall out; if it's too small, the anchor will bend and crush when you try to push it in.
- Clear out the Dust: After drilling the hole, blow out the brick or drywall dust before pushing the anchor in. Leftover dust can prevent the anchor from gripping properly.
- Tap it Flush: Push the anchor into the hole, and gently tap it with a hammer or screw handle until the lip sits completely flush with the wall surface before driving the screw.
⚠️ Surfaces to Avoid
- Glass & Mirrors: You cannot drill and anchor directly into glass or a mirror; it will shatter instantly.
- Solid Hardwood Panels: Wall anchors are actually unnecessary for solid wood. You don't need the plastic anchor sleeve at all here—you can just drill a small pilot hole and drive the screw directly into the wood for a rock-solid hold.
- Thin Plastic or Metal Sheets: If the wall or panel is too thin, the anchor won't have enough depth to expand and grab onto anything.
Max Weight Capacity - 2 Kg
Shipping Information
Shipping Information
Orders are dispatched within 48 hours with secure multi-layer packaging. Real-time tracking updates are shared via Email and WhatsApp, so you can track your order anytime.
Return & Warranty
Return & Warranty
Our products are made using 5mm Acrylic and durable bio-plastic (PLA). However, warranty may not apply in cases of misuse, including impact damage, exposure to direct heat, or prolonged sun exposure.
Orders are eligible for return or replacement within 7 days if received damaged or incorrect. Requests made beyond this period or without a valid reason will not be accepted.
For complete terms and conditions, please refer to our Warranty & Refund Policy page.
Share